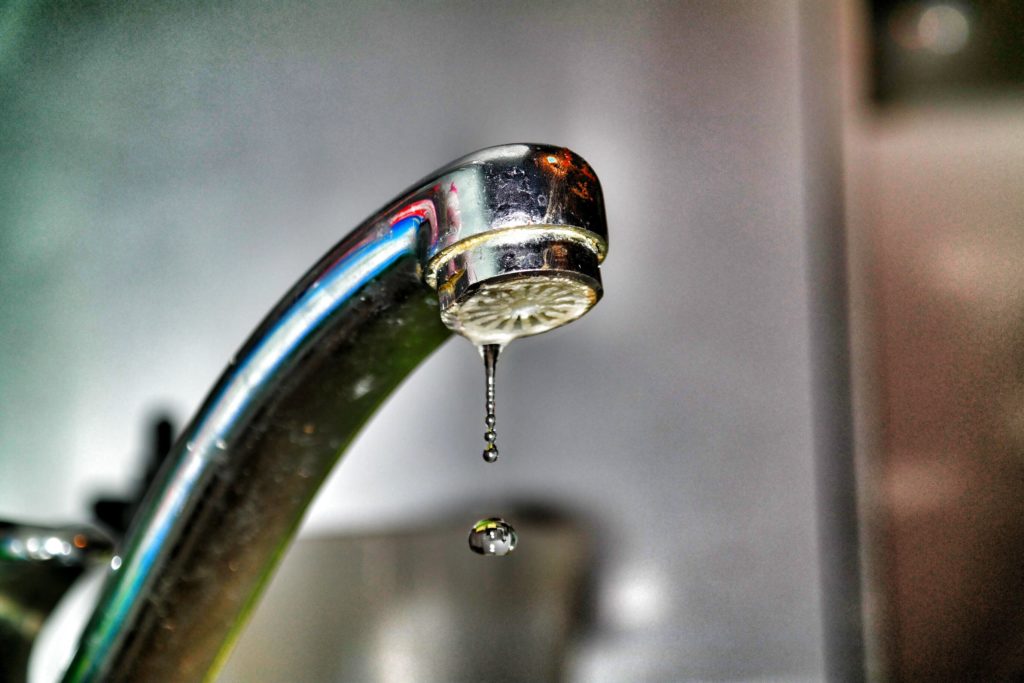
If your kitchen faucet is dripping, it’s not only annoying, it can be costly. In addition to running up your water bill, drips may possibly damage the surface of your sink. But a simple leak is easy enough to diagnose and repair – you just need to know what you’re looking for.
When is a drip just a drip?
Faucets can leak for a number of reasons from a number of places. Take a look to see where the water is coming from – the handle? the spout? – to help you narrow down the culprit.
Handle issues
If your faucet is dripping from the handle, it could be the:
- O-ring. There is a small rubber disc attached to the stem screw that holds the handle of a faucet in place, known as the O-ring. A loose or worn-out O-ring will cause drips; replacing the O-ring should fix your problem.
- Loose nuts. Over time, the packing nuts in the stem screw may become loose, which will cause leakage. Check to see if the packing nut needs to be tightened or replaced.
Spout issues
If you see leakage around the spout area, it could be from:
- A corroded valve seat – the area that serves as a connection between the faucet and the spout in a compression mechanism. Clean the valve seat to rid it of accumulated water sediments.
- A worn-out washer – these rubber discs wear out in time due to constant friction and resistance. Washers can also cause leaks if they have not been installed properly or are not the right size.
Assemble your tools
Most faucet investigations and repairs require tools you already have around the house:
- An adjustable wrench or C-wrench
- Phillips- and/or flat-head screwdriver
- WD-40, CRC, or other penetrating oil
Later, you may have to take a trip to the hardware store to purchase replacement washers or O-rings. Be sure to buy the right sizes – bring the old ones with you for reference.
The first, most important step
Before you do anything to your faucet, make sure your water supply is turned off. Run the faucet for a few minutes to empty it, then plug the sink with a rag to keep small parts from falling down the drain.
Repair or replace?

If you’ve assessed the handle and spout and your faucet is still leaking, your pipes may have developed a crack – you’ll want to hire an experienced plumber to check your water pipes. Or, you can try replacing your entire faucet. Keeping the water pressure off and the rag in the drain:
1. Use the adjustable wrench and/or a pair of channel-locking pliers to disconnect the water lines from the faucet. If they are old and worn out, you may want to consider replacing them with flexible supply lines.
2. Use a basin wrench or socket wrench to remove the packing nut, then disconnect the line that connects the hose to the faucet, if your sink has one.
3. Pull the old faucet out, clean the surface of the sink to remove any accumulated debris, then line up your new faucet with the outside holes of your sink.
4. Seal the new faucet. If you’re using a gasket, put the gasket on the lip of the plate and thread the hoses through. If you’re using plumber’s putty, apply it around the base of the faucet, then set it in place.
5. Underneath the sink, thread on the flange and nut. If you’re installing a pull-out faucet, add a weight that will retract the pull-out sprayer.
6. Reattach the supply lines to the faucet and then to the shut-off valves.
7. Turn the water back on. If you find any leaks, tighten connections on the water supply line – but hopefully your faucet will no longer be leaking!
Post provided by CroppMetcalfe


