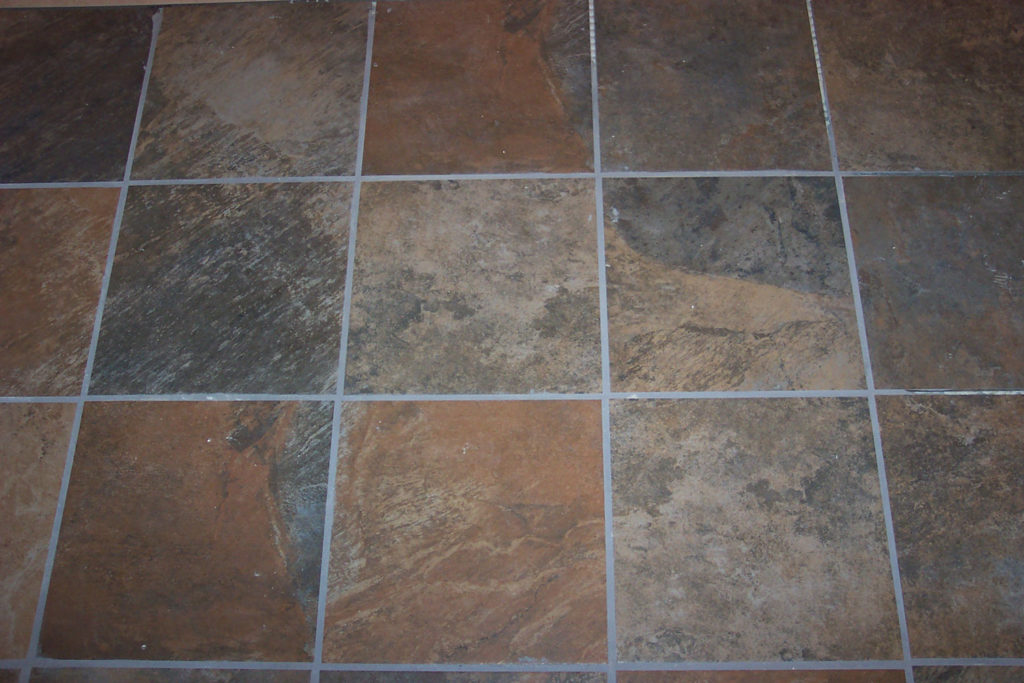
Your kitchen is one of the most frequently used rooms in your home and it’s worth investing in its appearance. You want it to be a pleasant, modern and spacious environment with surfaces that are easy to maintain without getting shabby quickly – wall tiles are the perfect solution.
However, the idea of tiling your kitchen can be quite a daunting prospect with all the fixtures and nooks and crannies to be carefully avoided. If you’re about to embark on your first DIY kitchen tiling task, follow our tips to staying organized and prepared when revamping your kitchen, without having to call in the professionals.
Measuring up
Your first step should be assessing whether the area to be tiled will require small tiles or large tiles. This can depend on the space you are tiling or the style of your kitchen. For instance, if you are tiling a small kitchen you may decide that medium to large tiles will give the appearance of added size.
Once you have settled on a tile, you should find out the number of tiles you need to buy. To do this you will need to: measure the area, multiply the height by the width in order to get the area in square meters and do the same for the tile. Divide the tile by the square meter and round this number up to give you the number of tiles needed per square meters.
Preparing your surfaces
Your surfaces should be as even as possible before you begin. Whether you are tiling walls or floor, you should ensure that there are no lumps which can lead to uneven and amateurish tiling – this can also substantially lengthen the amount of time you spend on the task.
Prepare your walls for plastering by re-skimming with plaster, re-rendering with cement or putting up new plasterboard.
Working out your rows of tiles
In order to achieve a neat and symmetrical design, take a wooden batten of approximately 50 x 25mm in length, use a spirit level to achieve a horizontal line and lightly nail the batten to the wall. This will be your start point for all tiles to be placed in line with.
Lay your tiles along the batten, with a tile spacer between each; mark their positions and gaps along the batten and use this as a gauge to work out your vertical and horizontal rows as you progress.
Work a square meter at a time
It is vital that you work in small sections as you tile your room, ideally a square meter at a time in order to prevent the adhesive from hardening before all the tiles are in place. Secure each so that they are level, moving them higher or lower as necessary and scraping away any over-running adhesive.
Achieving an even finish
Using tile spacers will help you make sure your tiles are evenly separated – press them firmly between the tiles so they can be grouted over without leaving marks or be seen when the job is complete.
It is vital that you wait until your adhesive is completely dry between the joins before grouting in order to prevent the tiles from slipping.
Get creative with your tiling
You can take the pressure off tiling with our top tips, and create some fantastic features in your kitchen by mixing and matching your tiles.
Why not try taking two different types of stone tiles and placing them alternately along your wall? Or even merge smaller tiles with larger stone tiles to create points of focus and interest around your kitchen. Whatever pattern or tiles you choose, by following our tips we hope you achieve the modern kitchen you desire.
Danielle Middleton is a digital content writer for Stone Superstore, the 1st Quality Natural Stone Tile specialist. Stone Superstore are experts in sourcing natural stone tiles for bathrooms and kitchens in a range of materials including Limestone, Travertine and Marble.


