Description
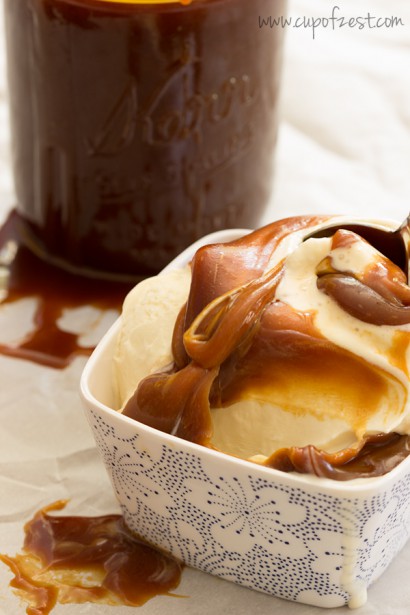
This easy caramel sauce recipe is rich and buttery.
Ingredients
- 1 cup Water
- 2 cups Granulated Sugar
- 1 cup Heavy Cream
- 1 Tablespoon Kosher Salt (Optional, To Make Salted Caramel)
- 8 Tablespoons Unsalted Butter, Cold And Cut Into 8 Pieces
Preparation
Measure out all of your ingredients (and keep your butter in the fridge) and pull out all of the tools you need (you will need a 2-quart heavy bottomed pot with a lid, a candy thermometer, a small heavy bottomed pot, and a whisk).
Pour the water into your 2-quart pot, and pour the sugar into the center of the pot. You want to create a little mound of sugar submerged under the water, so make sure to pour the sugar into one spot of the pot! Cover the pot, and bring to a boil over high heat, which will take about 3 minutes.
Remove lid and insert your candy thermometer. Keep boiling the sugar until it reaches 300 F, which will take about 15 minutes. Then reduce the heat to medium.
Place the cream in the small heavy-bottom pot and bring to a simmer over high heat. (In a perfect world your cream will reach a simmer once the sugar reaches 350 F in the next step, but if it reaches a simmer early, just remove it from the heat.)
Once the sugar reaches 350 F (this will happen about 5 minutes after you reduce the heat to medium in step 4), it will be a dark amber color and begin to smoke. At this point, immediately turn off heat. (If you have an electric stove remove it from the burner.)
Very slowly stream in the warm cream. The sugar will bubble, but as long as you do this step slowly, you will be good to go!
Once all of the cream is added whisk the mixture well. Add the salt (if you don’t want to make salted caramel, just add a pinch of salt here; if you want salted caramel, add the full listed amount) and butter and whisk until it is completely incorporated (the butter will probably bubble a bit too).
Let it cool and then pour over a large scoop of vanilla ice cream or store in an airtight container in the fridge!
Notes:
1. I adapted this recipe from Cook’s Illustrated.
2. Step-by-step photos on the related blog link.


